- You have no items in your shopping cart
- Continue Shopping
Direct to Film (DTF) printing has become one of the most popular methods for custom apparel thanks to its versatility, durability, and ease of use. If you’re new to DTF, the process might seem technical at first—but it’s actually very straightforward.
In this guide, we’ll walk you through the entire DTF workflow, from preparing your design to pressing it onto a garment, using our Gang Sheet Builder.
What Is DTF Printing? (Quick Overview)
DTF printing is a method where your design is:
-
Printed onto a special film
-
Applied to fabric using a heat press
Unlike other methods, DTF works on:
-
Cotton
-
Polyester
-
Blends
-
Light or dark fabrics
No cutting, weeding, or pre-treatment required.
Step 1: Prepare Your Design
Before uploading your artwork, make sure it’s print-ready.
✔ Recommended Design Settings
-
File format: PNG or PDF
-
Background: Transparent
-
Resolution: 300 DPI
-
Color mode: RGB
-
Text: Converted to outlines
Clean, high-resolution designs produce the best DTF results.
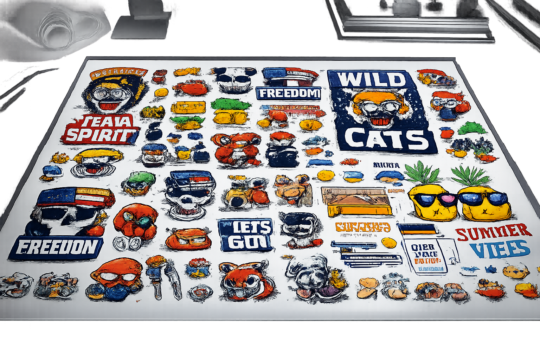
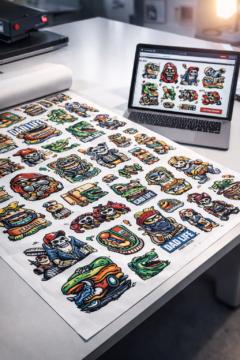
Step 2: Build Your Gang Sheet Using Our Online Tool
Once your design is ready, head to our Gang Sheet Builder, powered by the BAGS plugin.
With the builder, you can:
-
Upload multiple designs
-
Resize each graphic
-
Rotate and position elements
-
Combine different sizes on one sheet
This step allows you to maximize space and reduce costs by fitting multiple prints onto a single DTF gang sheet.
👉 You’ll see a live preview so you know exactly how your sheet will be printed.
Step 3: Submit Your Order
After finalizing your layout:
-
Choose your gang sheet size
-
Review your design
-
Place your order
We handle the professional DTF printing process, ensuring:
-
Vibrant colors
-
Sharp details
-
Strong adhesive durability
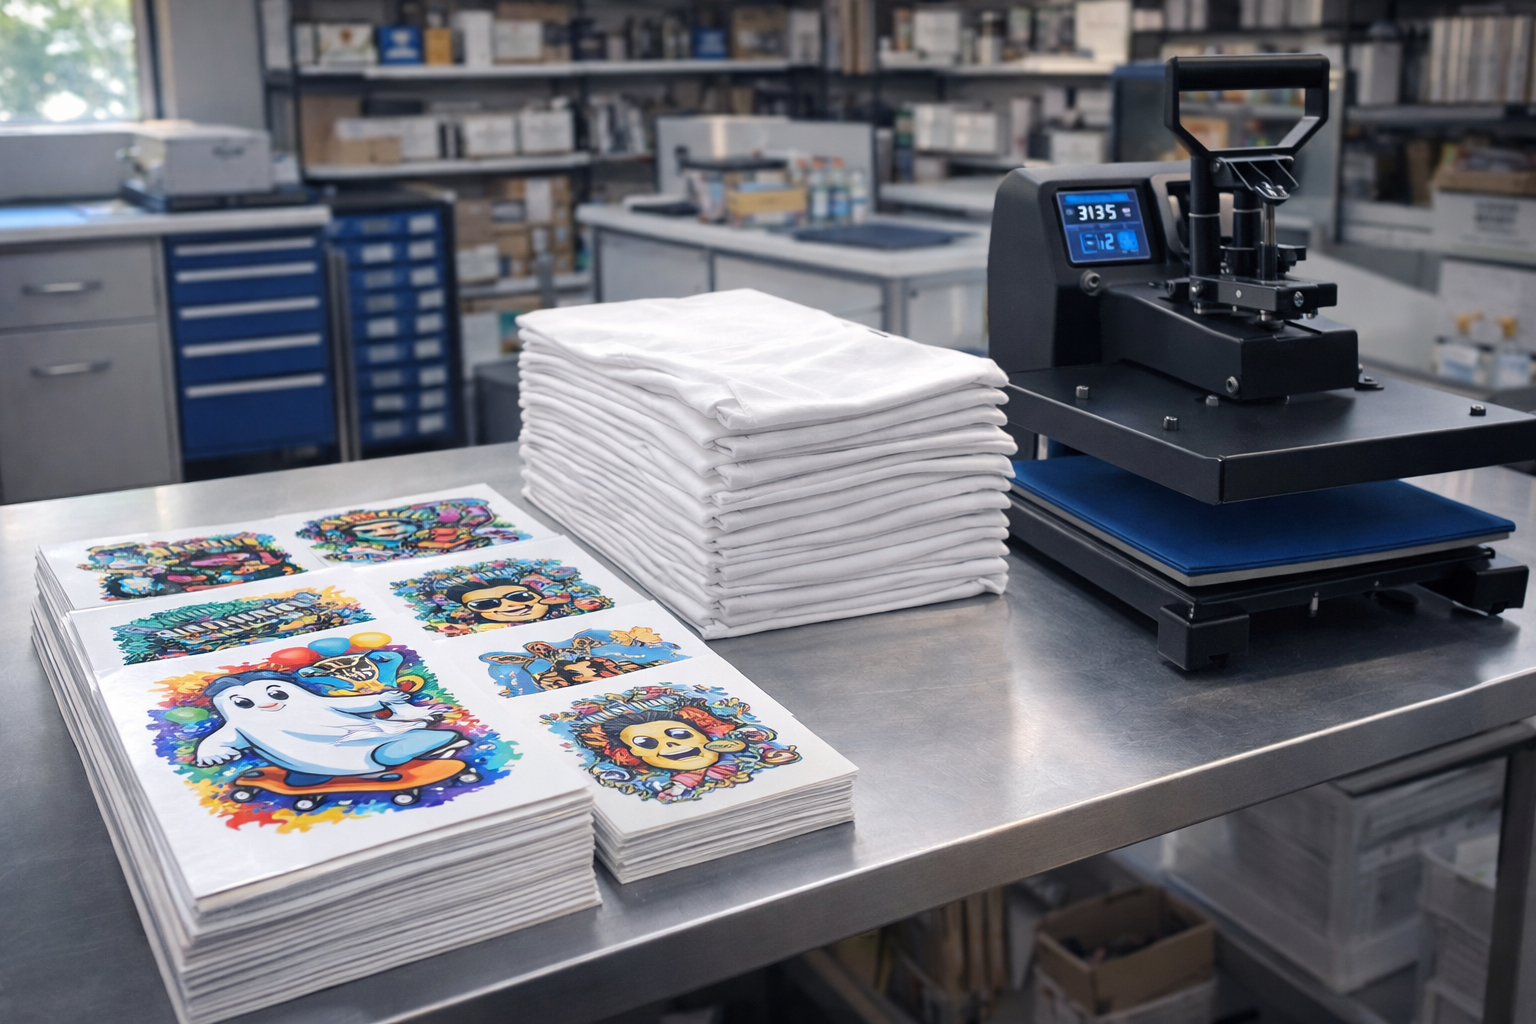
Your transfers arrive ready to press—no extra steps needed.
Step 4: Heat Press the DTF Transfer
Once you receive your DTF gang sheet, it’s time to apply it.
🔥 Standard Heat Press Settings
(Always follow your specific guide if provided)
-
Temperature: 300–320°F (150–160°C)
-
Pressure: Medium to firm
-
Press time: 10–15 seconds
Place the transfer on the garment, cover it with parchment or a Teflon sheet, and press.
Step 5: Peel the Film
Depending on the transfer type:
-
Hot peel: Peel immediately while warm
-
Cold peel: Let it cool completely, then peel
Peel smoothly and evenly to avoid lifting.
Step 6: Final Press for Durability
For best results, perform a final press:
-
Cover the design with parchment paper
-
Press for 5–10 seconds
This step improves:
-
Wash resistance
-
Stretch durability
-
Overall finish
Your DTF Print Is Ready
That’s it! Your garment now features:
-
Bright, long-lasting colors
-
Soft, flexible texture
-
Professional-grade durability
DTF prints can last 50+ washes when applied correctly.
Why This Workflow Is Perfect for Beginners
DTF printing is beginner-friendly because:
-
No cutting or weeding required
-
Works on most fabrics
-
Simple heat press application
-
Easy ordering with online gang sheet tools
With our Gang Sheet Builder, you can focus on creativity while we handle the printing.
DTF printing makes custom apparel accessible to everyone—from first-time creators to growing brands. By combining smart design prep, efficient gang sheet layouts, and proper heat press technique, you’ll get consistent, professional results every time.
If you’re just getting started, this workflow is the fastest and most cost-effective way to enter DTF printing.